Finishing your basement is a great project for your home that adds livable space, and value. It’s more cost effective than an addition, and handy homeowners can DIY their basement finishing project. With modern basement waterproofing, your basement can be as warm, dry, and cozy as every other part of the house. But how should you finish your basement walls? Read on to explore your options.
Before You Finish Your Basement
The first step for every basement before you can start construction is waterproofing. All moisture problems must be remedied before materials are purchased, permits are pulled, or construction begins. Even if you decide to have a remodeling contractor finish your basement for you, it has to be waterproofed first, or you risk losing your investment. If the only moisture you’ve seen is a little bit of condensation on the walls and cold pipes on humid days, you’re probably fine. But if water comes up out of the drain, or pools anywhere in the basement after a hard rain, there is work to be done before you can finish the space out.
Fixing Basement Moisture
Many homes just need to repair and/or redirect their gutters and downspouts to prevent basement flooding. It could be as simple as that. Leaky pipes must be fixed and insulated, a humidifier must be installed, and everything must be sealed. For basements prone to flooding, a basement waterproofing company must be called before any other construction takes place. They may have to dig up the lawn and do exterior waterproofing. It even floods in the desert sometimes, and you don’t want your cozy new space to only last until the next storm.
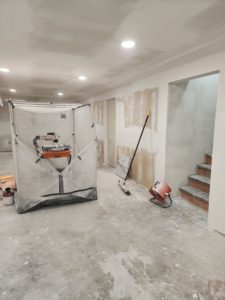
Now that your basement moisture is under control, what’s next?
Seal Your Basement Walls
If you can use a paint roller, you can seal your basement walls and floor. You’ll need to choose a paint designed to seal masonry, and grab a roller and brushes to apply it. Water naturally leeches through concrete, and this sealant will keep that moisture out of the basement.
Nail Blocks Between Joists
For the next step, you will need to install some blocks between your floor joist and the sill plate so that it’s possible to build walls along the masonry. If your brace is going to come into direct contact with the concrete, use pressure treated lumber to make sure that your blocks last.
Foam Board Insulation
Use XPS foam boards only. This is the most moisture resistant option. In addition, only apply adhesive to the basement walls vertically. This prevents moisture from becoming trapped between the basement wall, and the insulation.
Chalk Lines
Place a chalk line 4 inches away from your insulation to guide your bottom plates. This gives a half inch of extra space to account for basement walls not being perfectly square.
Assemble the Walls
Make your life easier by assembling your walls on the basement floor, and build it so that you can lift it straight into place. This lets you avoids swinging the whole wall, or scooting it across the basement floor that you just sealed. Also, Check each 2×4 board for their “crowns”. This is the rounded, slightly narrower side of the board. Keep the crowns facing upward while you build your walls. This helps to keep your studs from rocking while you are building the walls.
Short Yourself
Build your walls a little short. You do not need them to touch the joists, and this will make your life much harder. Measure the floor to ceiling height at each end of the wall, and give yourself at least ¼ inch of room so that they install easily. Be sure to account for your 2nd 2×4’s going onto your top plate after you get the wall in place.
Important Note: If you do not follow this instruction, you will have to hammer your walls into place. This can raise the joists, and damage the flooring drywall in the rooms above the wall, or bow the studs in your brand new wall.
You’ve Really Turned a Corner
Be sure to turn the last stud on your first wall sideways and overlap it halfways past the connecting walls for attaching your drywall later on.
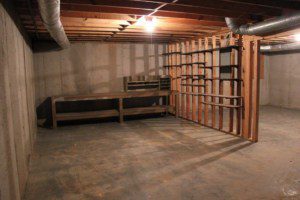
Basement-Construction
Tip One Up and Tie it Down
First, put some construction adhesive on the floor to help hold your bottom plate in place. Lift your wall into place. You may have ductwork or sagging joists in your way. You may have to ask for some help to angle the wall toward the floor joists, then slide the bottom plate into place. Fasten it down with masonry screws at least every 6 feet, and within 6 inches of each end of the wall.
Plumb, Square, and Perfect
Line up the top of your wall every 3-4 feet and shim it in place, then nail it into every joist.
One Piece at a Time for Windows and Obstructions
You may have to frame parts of your walls around windows, or adjust the walls to fit joists that are horribly unlevel. In this case, you can build your wall one piece at a time to work around these obstructions. Start by fastening your bottom plate as described above. Fasten your top plate as described above. Then frame your windows. After that, toe nail each stud in, and frame windows as necessary.
Before You Pack Up
Make sure that your have all of the drywall backers that you’ll need before you put your tools away and clean up. You will need backers at the tops of corners, and walls that run the same direction as the joists.
If you’re looking to finish your basement walls in New Albany, Indiana, don’t hesitate to call us here at Flooring Masters & Professional Remodelers. We provide our customers with lifetime relationships, and take great care in our work. We also provide the best options for perfect floors and other renovations. Call tel:812-944-6383 to schedule a free estimate today!


