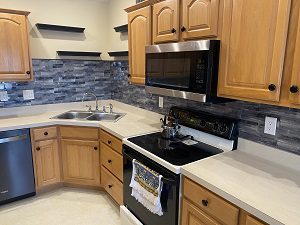
There are loose or cracked tiles in the backsplash. The formica is bubbled and peeling away from the countertop. The vinyl flooring is faded and worn. The ceramic coating on the old stove is chipped. No one has cleaned behind it since 1963. The refrigerator is inefficient when it’s working. The ancient microwave has a dial instead of buttons. It’s time to remodel the kitchen. But what steps do you take? How do you prepare for a kitchen renovation? Flooring Masters is here to guide you through the steps for your kitchen remodel, make sure that you don’t miss any and have to backtrack, and make sure that nothing is overlooked.
1 – Safety First For DIY Homeowners
If you’re a handy homeowner who intends to remodel your kitchen, we just want to state that safety is always the first step for every remodeling project. Before you begin demo, turn off all of the utility systems to the kitchen. No electricity, water, or gas can flow to the kitchen while you are tearing out old materials and fixtures. Be sure to talk to the entire family about how to stay safe during remodeling. The easiest solution being to stay out of the kitchen before it is done. Be sure to use eye protection, heavy duty gloves, and a respirator.
It is vital that you check with your city government to make sure that you pull the proper permits, and do everything up to code. If you are ever unsure if you are capable of part of the renovation, do not hesitate to call in the experts. Especially for tasks that involve gas or electrical. We strongly advise against replacing major appliances, such as a stove, without a licensed expert.
2 – Proper Planning
Before you start ripping old plaster off of the walls, plan each of the steps for your kitchen remodel out on paper. Every single detail should be plotted out, however, that plan has to remain flexible. There are always surprises with every kitchen remodel, and adjustments must be made. Be prepared to adapt your plan on the fly. Start by writing out the scope of your project. Do you just need to replace the flooring, backsplash, and appliances? Or are you going to tear every piece of building material out of the kitchen and make it completely brand new? Next, list each part of the kitchen that is being replaced, and the new materials to be installed. Shop for new appliances. Calculate costs. Once you have an estimate of the total cost, compare that to your budget, and adjust.
2A – Design
If you are designing the new kitchen yourself, be sure to get several opinions on the design before you start the project. We often overlook obvious problems that other people will point out immediately. Do this, or face the consequences of accidentally building a kitchen island that you can’t move around, a refrigerator door that can’t be opened, et cetera.
3 – Demolition/Preparation
There may not be any demolition involved in your kitchen remodel. You may just need to update the hardware on your cabinets, and paint them, but preparation is still required. Cabinets must be removed, cleaned, and sanded before painting.
However, you probably have some demolition to do. If you are remodeling the kitchen yourself, be sure to have a dumpster delivered before you start demo, or the neighbors and city may be upset with the pile of drywall and tile on the lawn. If there are any materials that you would like to reclaim, remove them carefully. Otherwise, grab a pry bar and a sledgehammer and go nuts safely. With eye, respiratory, and all other protection.
4 – Plumbing and Electrical Systems
Once the bones of your kitchen are exposed and all of the cabinets and appliances are out of the way, it’s time to move the gas or 220v electrical connection to the new stove location. If your wiring and other electrical is outdated or not up to code, now’s the time to replace all of those wires and outlets, long before the drywall goes up. We advise DIY homeowners against taking care of electrical without a licensed, insured, professional. At this same time, replace any old pipes, move them to the new sink location, or add a water line for a modern refrigerator with an ice maker and filtered water. Take care of all plumbing and electrical before you begin rebuilding the kitchen. This order will make life much easier.
5 – Drywall
With the plumbing and electrical systems updated, it’s time to rebuild the walls. Aren’t you glad that old drywall full of dents and holes is gone? Before you buy your drywall, measure the space you have to cover twice, and buy an extra sheet, just in case. It’s much more convenient to have more than you need than the other way around.
If you are putting up drywall yourself, you’ll need several tools such as
- Plastic sheeting to contain dust when sanding.
- Drywall Tape
- Drywall Screws
- Screw Gun
- Drywall Saw (but a box cutter aka razor knife works)
- Large T-square
- Mud Knife AKA Taping Knife
- Sanding Pole and Sanding Blocks
- Mixing Paddle for your drill
- Respirator or Dust Mask
- Shop Vac
Once your drywall is all screwed in, mudded, and sanded, clean everything up very thoroughly. Make sure you account for that clean up time. Drywall dust gets everywhere. Use a respirator and seal the entrances to the kitchen with plastic.
5A – Paint
Be sure to paint, and let your paint set before moving on to flooring and cabinetry. This will save a lot of time spent on taping everything off to paint after the next steps.
6 – Cabinets
Some install flooring before cabinets, some install cabinets before flooring. It’s up to you, and also depends on when your cabinets arrive. Neither order is wrong. If you install your cabinets directly on the subfloor, you don’t need as much tile, vinyl, or whichever flooring you choose. The first step for installing cabinets is to find the highest spot in the floor where your floor cabinets are being installed. Install the first cabinet there to make sure all cabinets are shimmed up to that height, and level. Then install wall cabinets. However, if you choose to use a leveling compound and install flooring first, this may not be an issue.
7 – Flooring
This step may need to come before cabinets because the cabinets are taking longer than expected. Replace or repair your subfloor, and level it before installing your flooring. We recommend tile in the kitchen, but luxury vinyl tile or luxury vinyl plank works well on a budget.

Countertop-Backsplash-2
8 – Countertops
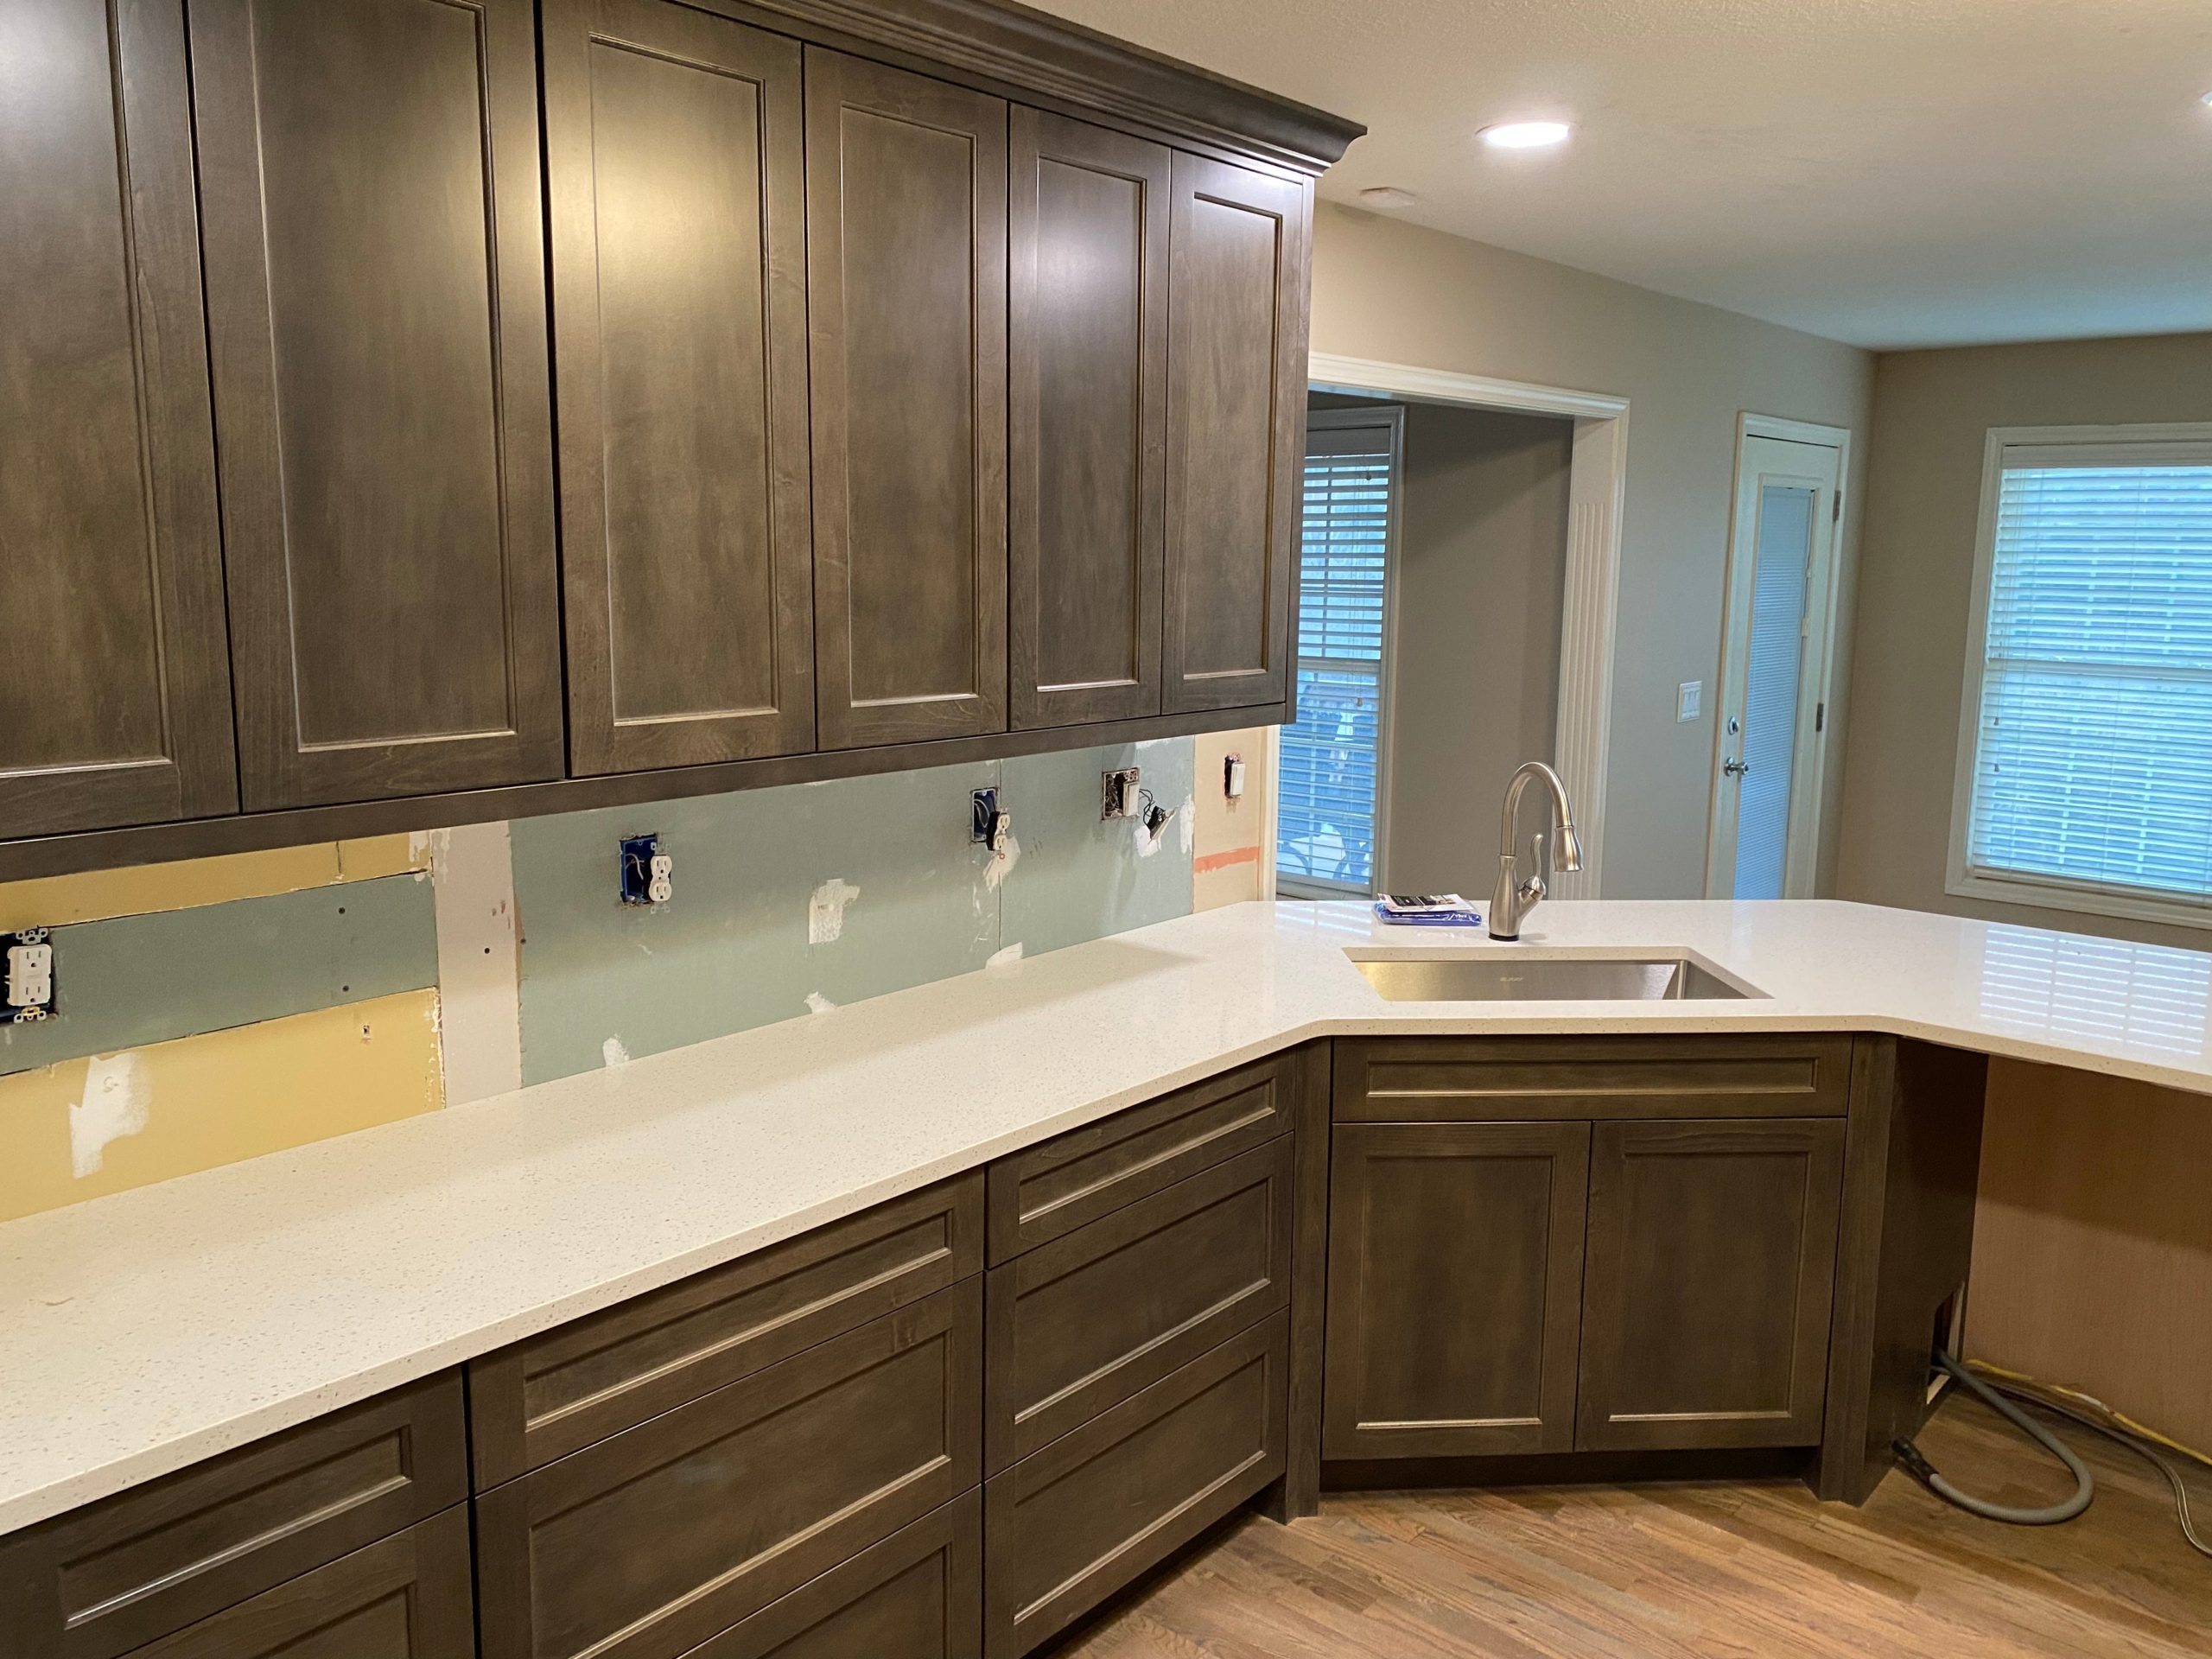
Once the cabinets are in, either you or the countertop company can measure for the countertops. Make sure that you have your sink for these measurements. If you haven’t received the sink yet, measurements can’t be done. Waiting for countertops often halts kitchen remodels, so be prepared for that.
9 – Backsplash
With the countertops secured, the backsplash goes up next. We always recommend the durability and versatility of tile, but if you are doing it yourself, or on a tight budget, a vinyl backsplash is also very versatile.
10 – Appliances and Sink
You finally get to see the stainless steel sink, stainless steel countertops, and stainless steel appliances all together in your kitchen. In this step, install the sink, the dishwasher, the refrigerator, and all other appliances.
Stuck? Call in the Experts!
If at any time you are stuck or unsure in any of the steps for a kitchen remodel, don’t hesitate to call in licensed professionals such as us here at Flooring Masters. We’re happy to guide homeowners through the kitchen remodel process, and make their new kitchen come together seamlessly.
If you’re looking to remodel your kitchen in New Albany, Indiana, don’t hesitate to call us here at Flooring Masters & Professional Remodelers. We provide our customers with lifetime relationships, and take great care in our work. We also provide the best options for perfect floors and other renovations. Call tel:812-944-6383 to schedule a free estimate today!

